

Composite Products for WooCommerce Pro
From: $49.00
Build customizable WooCommerce products with a powerful composite builder and bundle mode. Live pricing, logic rules, and guided selling included.
Composite Products lets you sell products where the customer has to make choices before buying. Instead of selling a fixed product, you define components – and the customer picks one option from each component to build their own version of the product.
A simple example: you sell a gift hamper. You want the customer to choose their own cheese, their own wine, and their own chocolate. Without this plugin, you would have to create hundreds of product variations to cover every combination. With this plugin, you create one product with three components – cheese, wine, and chocolate – and the customer picks one from each. The plugin handles everything: what they see, what they pay, and what goes into the order.
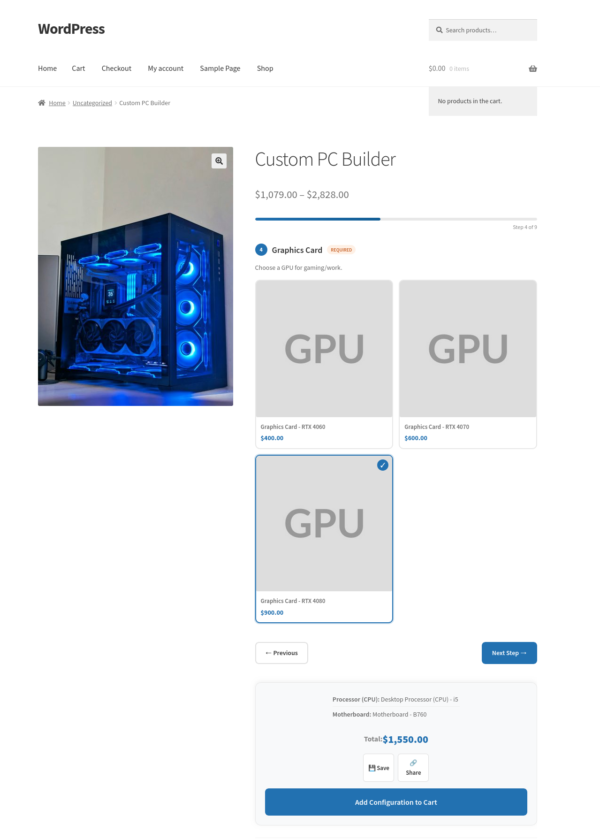
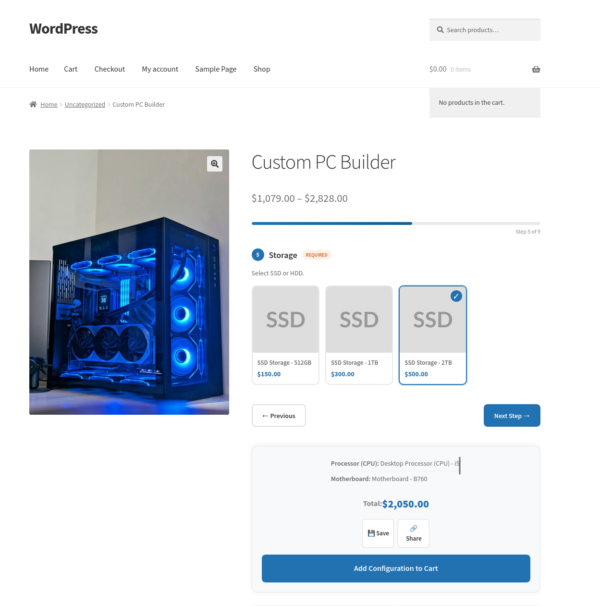
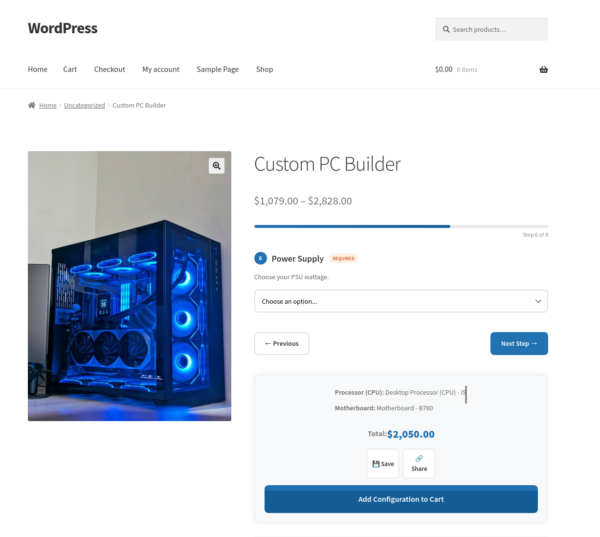
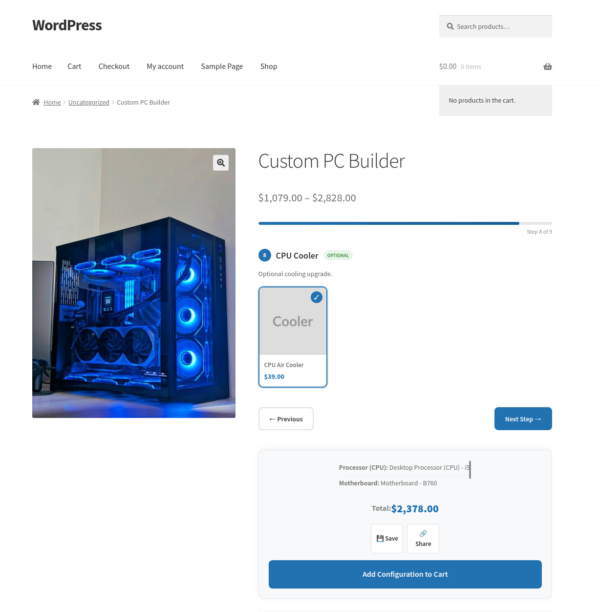
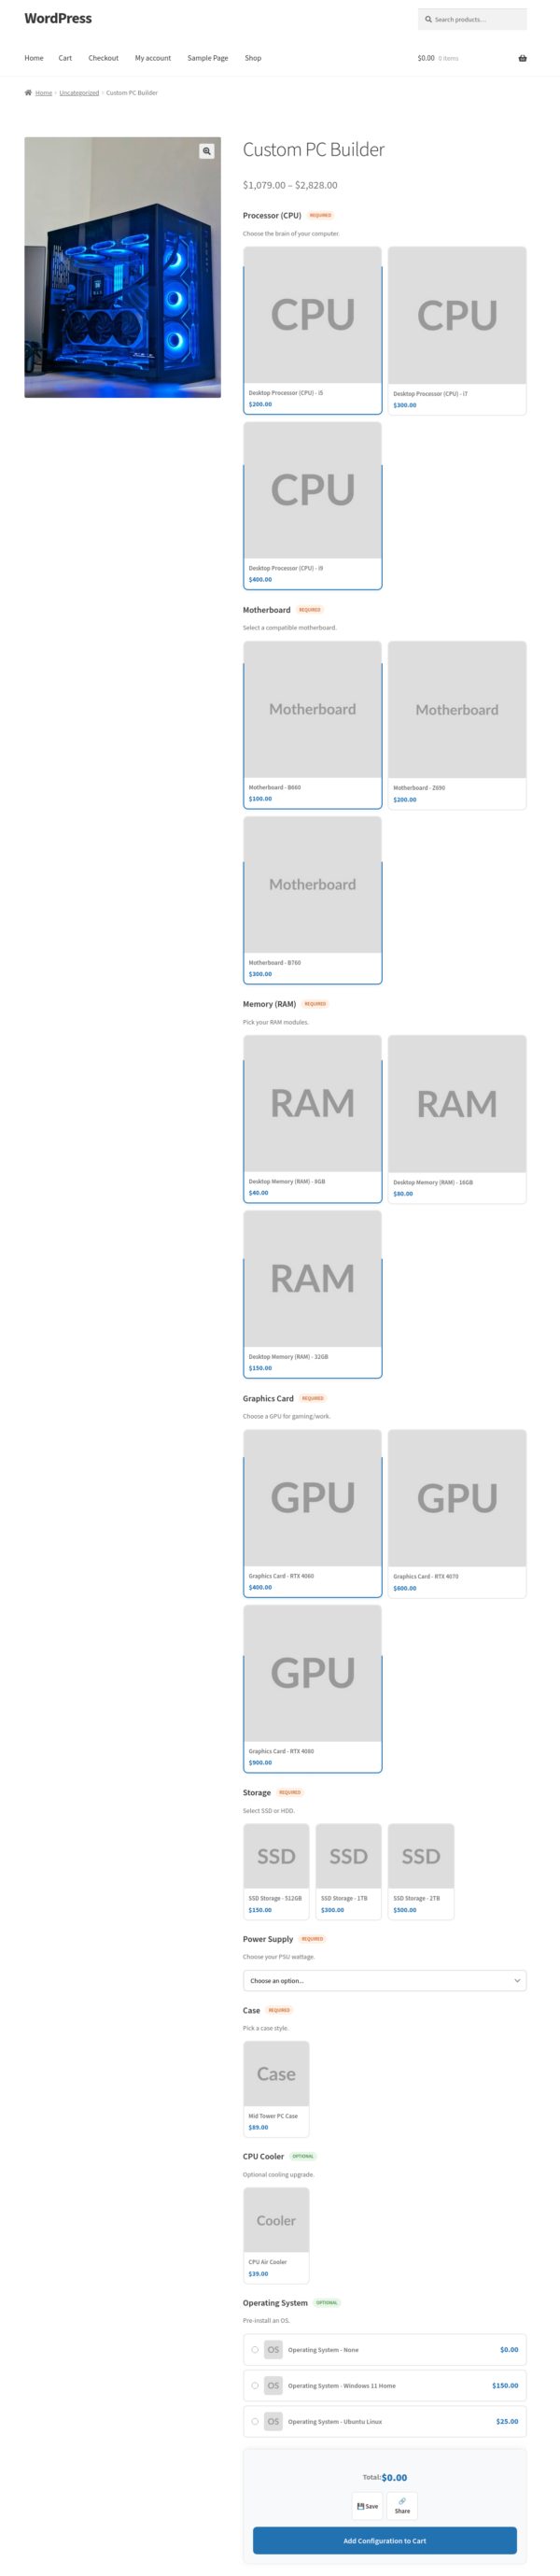
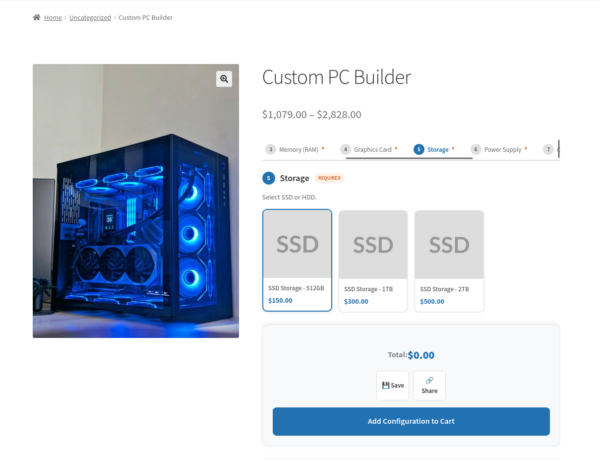
Another example: a computer builder. You create components for the processor, RAM, storage, and case. You add the relevant products to each component. The customer configures their machine, sees the total update live as they make selections, and adds it to the cart in one click.
The Problem It Solves
WooCommerce by itself handles variable products well, but variable products only work when the combinations are fixed and known in advance. As soon as you have more than two or three attributes, the number of variations explodes. Managing them becomes unworkable, and customers face a confusing wall of dropdowns.
This plugin takes a different approach. You define what the options are, not every possible combination. The customer assembles their own version, and the plugin tracks what they chose, prices it correctly, and sends the right information through to the order.
Who It Is For
This plugin suits any store that sells configurable or bundled products. That includes:
- Gift shops selling build-your-own hampers
- Food businesses selling meal kits or tasting boxes
- Electronics or PC stores selling custom builds
- Print shops offering personalised packs
- Subscription boxes where the customer picks the contents
It also suits stores that want to sell fixed bundles – a curated set of products sold together at one price, with no choices required from the customer. The bundle mode handles this.
What It Does in Practice
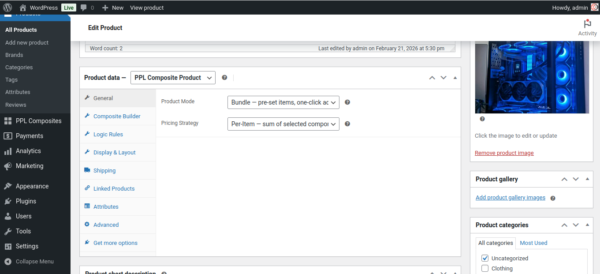
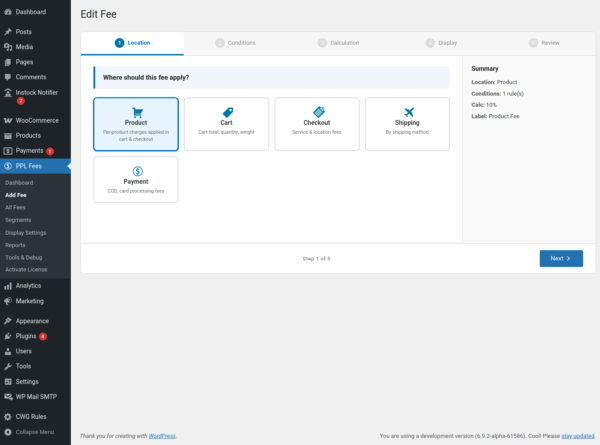
When you edit a product and set its type to Composite, a Builder tab appears. You add components, give each one a name and description, set whether it is required or optional, and search for the products that belong to it. You can set a minimum and maximum quantity per component, and apply a discount to all products in a component.
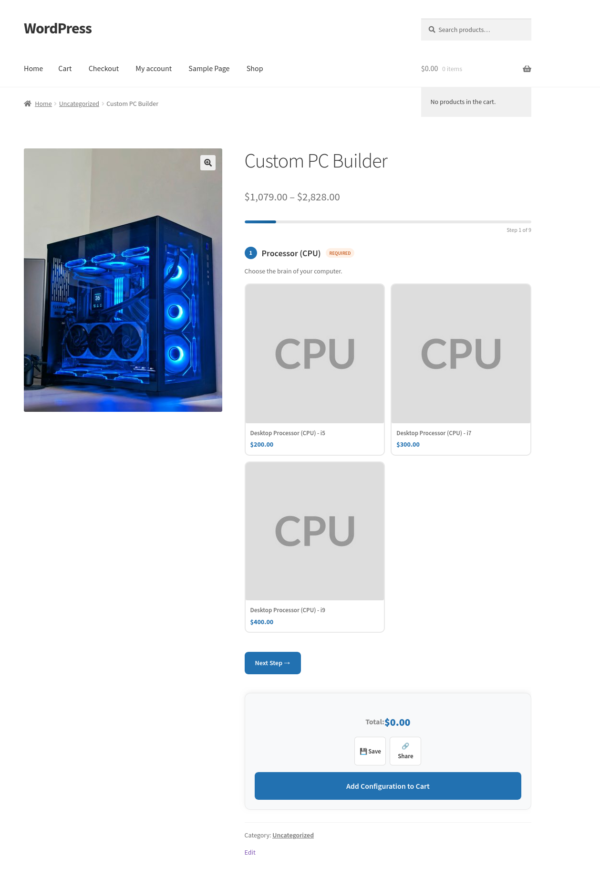
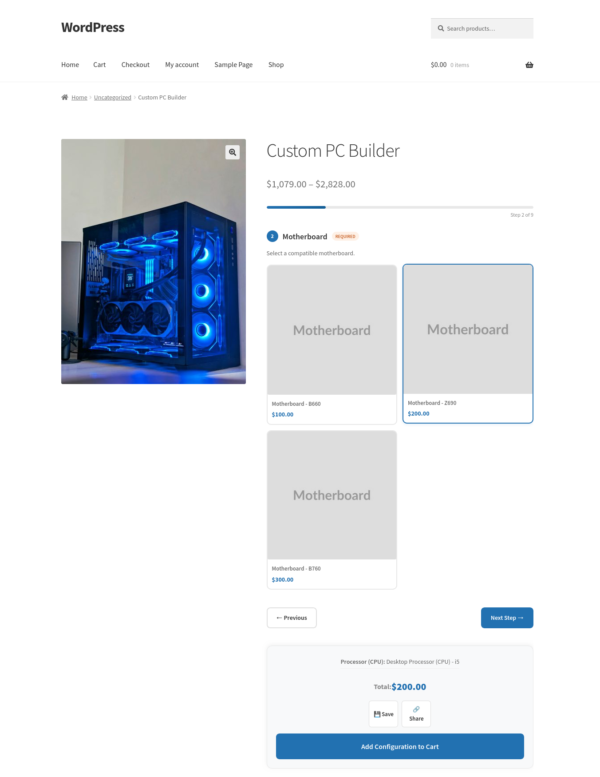
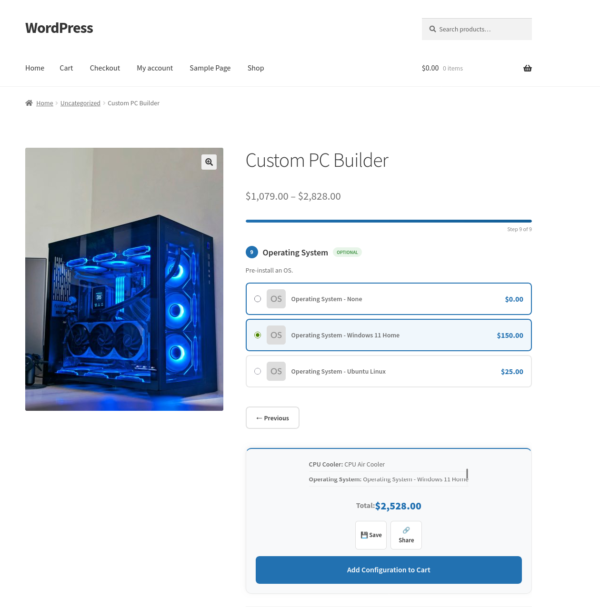
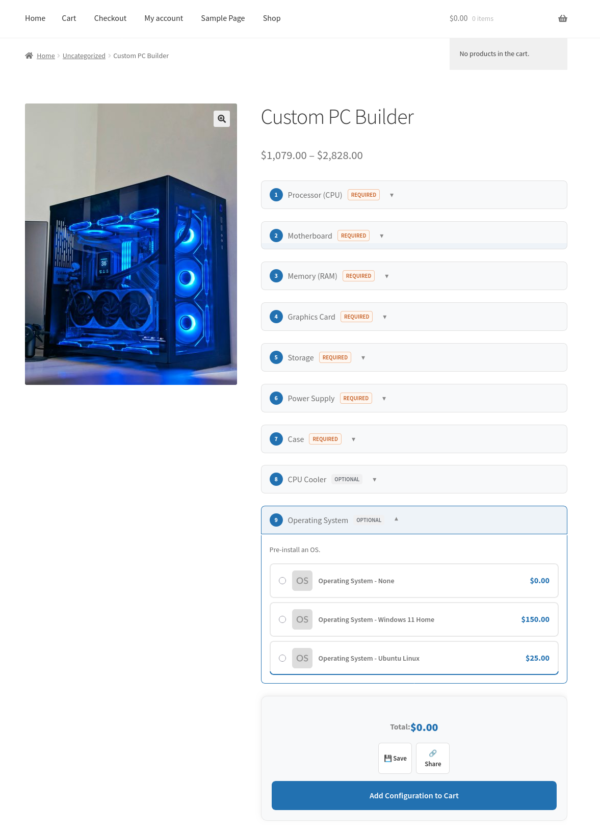
On the product page, the customer sees each component with the options laid out as thumbnails, cards, radio buttons, or a dropdown – your choice. As they select options, the total price updates live. When all required components are filled, they can add to cart.
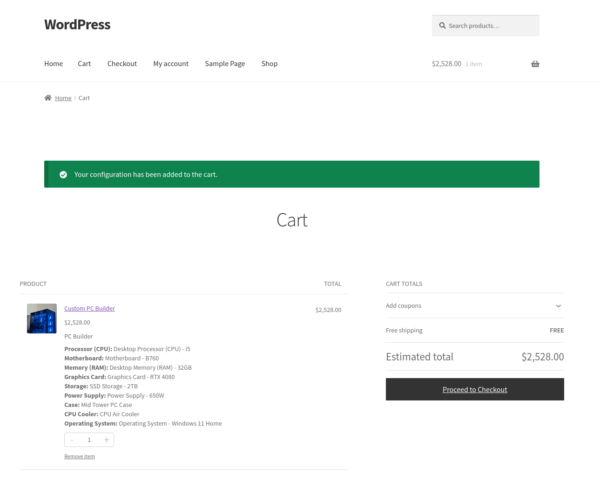
In the order, each component selection is listed clearly – the customer sees what they chose, and you see it in the order details and in order emails.
The General tab lets you choose a pricing strategy:
- Per-item: Total is the sum of selected products.
- Fixed: One price regardless of selections.
- Hybrid: Base price plus selected items.
The Bundle Mode
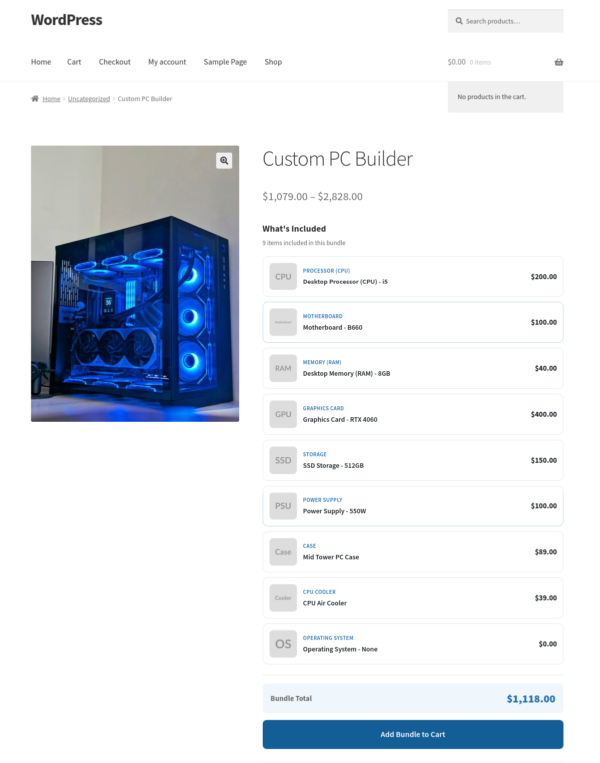
Bundle mode is a simpler version of the composite. You still use components and products, but the choices are made by you, not the customer. You pre-select one product per component, and the product page shows a clean list of what is included.
The customer sees the items, sees any savings, and adds the whole bundle to cart in one click. There are no choices to make.
This is useful for curated gift sets, starter packs, or any situation where you want to sell a group of products together at a combined price.
Logic Rules
The Logic Rules tab lets you create conditional rules between components. For example, if the customer selects a particular product in one component, you can automatically show, hide, require, or lock another component. This allows you to build guided configuration flows where the options presented adapt to what the customer has already chosen.
Display and Layout
The Display and Layout tab controls how the composite form looks on the product page. You can choose a stacked layout or a stepped layout where the customer moves through one component at a time. You can show or hide the price summary, choose whether to show a component progress indicator, and control whether component titles and descriptions are displayed.
Each component also has its own display style setting. You can use thumbnails, cards with descriptions, a simple list of radio buttons, or a compact dropdown. Different components on the same product can use different styles.
Changelog
v1.0.0
- Initial Release
| License | Starter License, Growth License, Ultimate License |
|---|
How to Install
- Log in to your WordPress admin panel. The address is usually yoursite.com/wp-admin.
- In the left menu, go to Plugins, then click Add New.
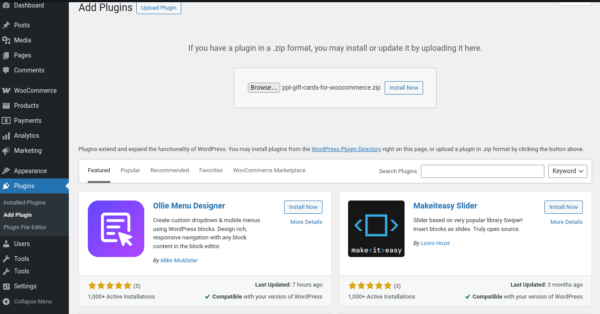
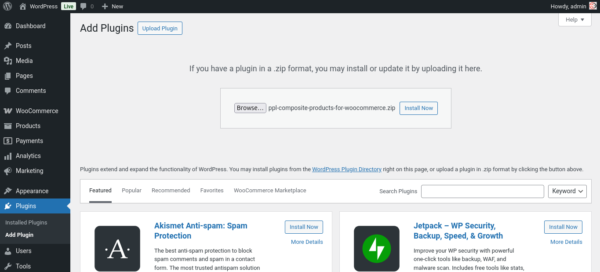
- Click the Upload Plugin button near the top of the page.
- Click Choose File and select the file
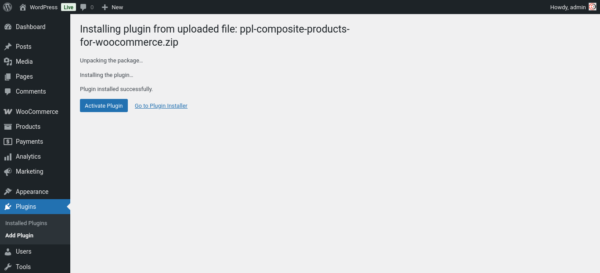
ppl-composite-products-for-woocommerce.zipfrom your computer. - Click Install Now and wait for the upload to finish.
- When the installation completes, click Activate Plugin.
What Happens on Activation
When the plugin activates for the first time, it creates the database tables it needs to store component definitions, product assignments, logic rules, saved configurations, and analytics events. It also registers the composite product type with WooCommerce. You do not need to do anything for this — it happens automatically. Note: If you see a database error on activation, check that your WordPress database user has permission to create tables. Contact your hosting provider if you are unsure.First Time Setup
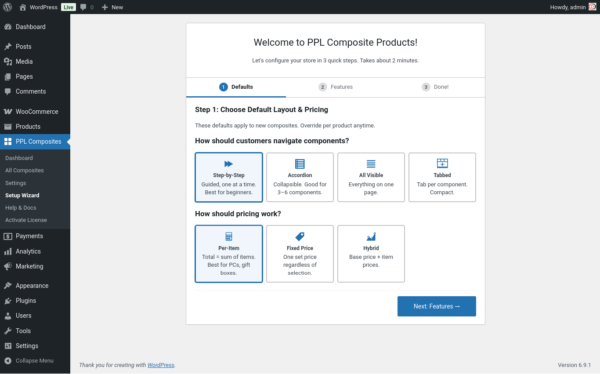
After activating the plugin, the setup wizard runs automatically. It walks you through the basic settings in a few steps. You can complete it or skip it — all the settings it covers are also available later in the PPL Composite menu.Going Through the Wizard
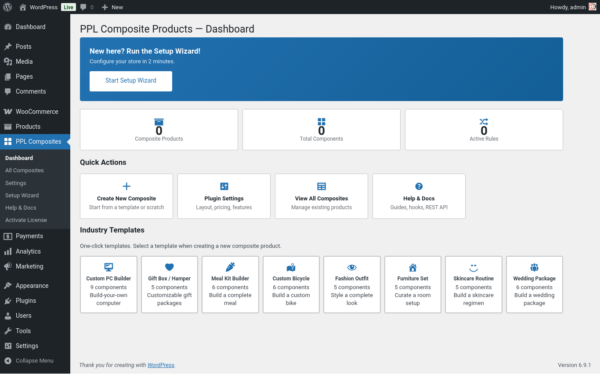
- The wizard opens on first activation. If it does not appear, go to PPL Composite → Dashboard and click the setup link at the top of the page.
- Step one asks what kind of composites you plan to sell. Select the option that best matches your use case.
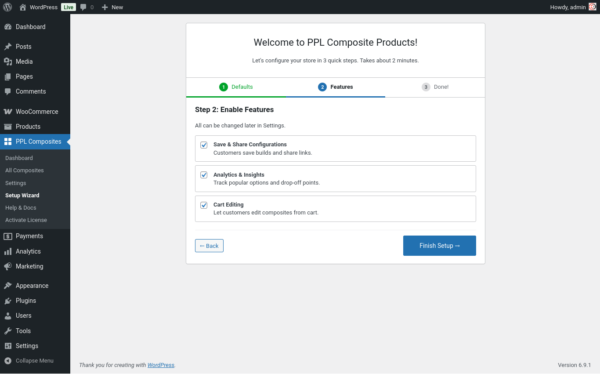
- Step two lets you turn features on or off. Logic Rules, saved configurations, and analytics are optional.
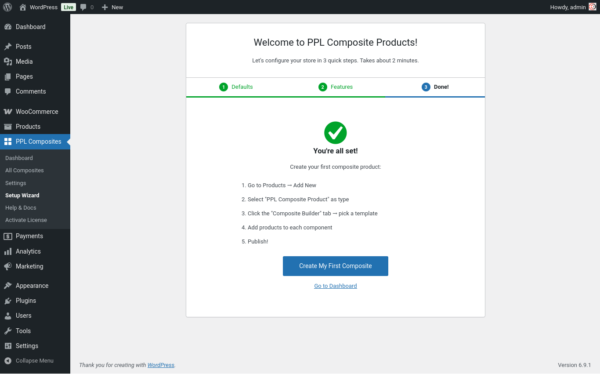
- Step three shows a summary. Click Finish to save the settings and close the wizard.
Creating a Composite Product
Step 1 — Create the Product
- In the WordPress admin, go to Products → Add New.
- Give the product a name and add a description and images as usual.
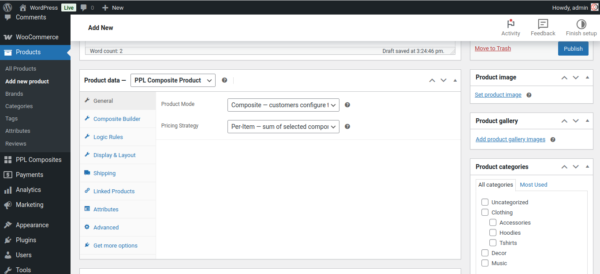
- Scroll to the Product Data section and change Simple Product to Composite Product.
- You will see a new tab called Builder.
Step 2 — Set the Pricing Strategy
- Click the General tab.
- Find the Pricing Strategy field and choose:
- Per-item: Total is based on selected products.
- Fixed: One fixed price for the product.
- Hybrid: Base price plus selected items.
- If you chose Fixed or Hybrid, enter the Base Price.
Step 3 — Add Components in the Builder
- Click the Builder tab.
- Click Add Component.
- Open the component card. You will see four sections: Identity, Rules, Pricing, and Products.
Identity
Enter the Component Title and optional Customer Description. Choose the Option Display Style.Rules
Set whether the component is required, and configure minimum and maximum quantities.Pricing
If needed, set a percentage or fixed discount.Products
Use the search box to add products to the component. Drag rows to reorder.- Repeat for each component.
- Click Update or Publish.
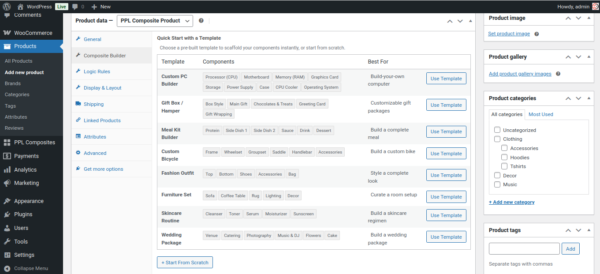
Step 4 — Using a Template
At the top of the Builder tab, click Choose a Template to load predefined components. To save your structure, click Save as Template.Step 5 — Display and Layout Settings
- Click the Display and Layout tab.
- Choose a Layout Style (Stacked or Stepped).
- Choose whether to show the Price Summary panel.
- Configure other display preferences.
- Click Update.
Step 6 — Logic Rules (Optional)
- Click the Logic Rules tab.
- Click Add Rule.
- Configure Trigger and Action.
- Click Save Rule.
Configuring a Bundle Product
A bundle is a composite product with pre-selected items. Customers do not make choices.Step 1 — Create or Open a Composite Product
- Create or open a product.
- Set product type to Composite Product.
Step 2 — Enable Bundle Mode
- Go to the General tab.
- Enable Bundle Mode.
Step 3 — Add Components and Pre-select Products
- Go to the Builder tab.
- Add one product per component.
- Repeat for each bundle item.
Step 4 — Set the Pricing
- Choose a Pricing Strategy.
- Per-item: Bundle price is the sum of items.
- Fixed: One price for the bundle.
Step 5 — What the Customer Sees
The product page shows a What is Included section with item list, prices, and a single Add to Cart button.Step 6 — Publish
- Set product image and description.
- Click Publish or Update.
- Check the product on the front end.
Related products
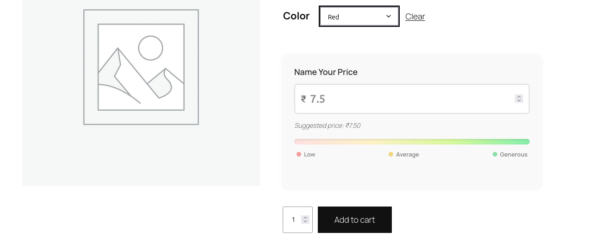
Name Your Price for WooCommerce Pro
From: $39.00 Select options This product has multiple variants. The options may be chosen on the product page

Fees for WooCommerce Pro
From: $49.00 Select options This product has multiple variants. The options may be chosen on the product page